Here’s a refined overview of buzz cut hair dye—from creative trends to practical tips.
Table of Contents
Creative Hair Dye Buzz Cut Styles & Inspiration
Buzz cuts are increasingly becoming a canvas for bold and artistic expression:
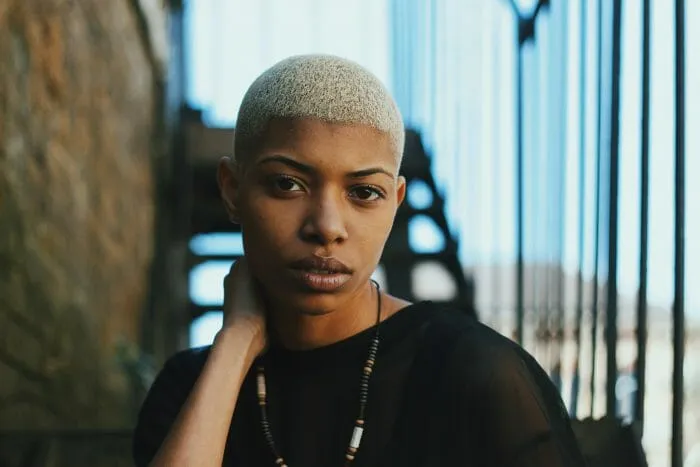
- Vivid colors and playful patterns: Popular shades include hot pink, teal green, silver-blonde, lemon yellow, mermaid blue, and more. Many people are also experimenting with designs like leopard print, black hearts on purple, “green fire,” floral mandalas, and geometric styling.
- Standout examples:
- The “Holographic Dream” is a glittery, purple-hued buzz cut with a floral mandala design, achieved through bleaching, layering lilac and velvet purple dyes, and sealing it with iridescent foam.
- Artist-turned-stylist Janine Ker pioneered rainbow buzz cuts, combining razor-cut designs with bleaching and vivid dye application for geometric artistry.
- Celebrity statements: Celebrities like Jaden Smith (with pink/neon-red fades) and Tiffany Haddish (with her honey-blonde buzz cut debut at the Golden Globes) have embraced bold or elegant takes on buzz cut dye.
Dyeing a Buzz Cut: Process & Tips
Step-by-Step Basics
- Start with a clean, freshly buzzed base—cut first so you’re only working with short hair.
- Bleach if you’re aiming for bright or pastel shades. Darker hair may require multiple bleaching sessions or toning.
- Apply the dye thoroughly. For extremely short hair, work in a wash-style—slather on color, massage gently, and use mirrors to ensure full coverage.
- Protect your skin. Apply a thin barrier (like Vaseline) around your hairline and ears to prevent staining.
- Rinse carefully—cool water helps preserve color. Condition afterwards to maintain scalp and hair health.
Do It Yourself or Go Pro?
- DIY: Many trust applying dye themselves on a buzz cut. With thoughtful prep and proper technique, it can work well. Use Vaseline to prevent staining and saturate hair fully.
- Visit a pro: Especially for complex designs, pastel or multi-layer dyes, or dramatic transformations, a professional ensures even application, avoids “blorange” (orange-tinted blonde), and handles toning expertly.
Quick Summary Table
| Focus | Recommendation |
|---|---|
| Bleaching | Needed for bold, bright, or pastel shades; consider toning afterwards. |
| Application | Over-saturate, massage dye in; protect skin with barrier. |
| Maintenance | Use cool water rinse; hydrate scalp and hair post-dye. |
| Designs | Geometric, mandalas, and prints are possible—but harder at home. |
| Professionals | Ideal for precise patterns, complex multilayer coloring, or beginners. |
| DIY | Very doable with right prep—great for solid or pastel tones. |
A buzz cut with dye is relatively simple to achieve compared to coloring longer hairstyles, but it still comes with some unique considerations.
Here’s what you should know:
READ ALSO: 8 Great Tips on How to Maintain Blue Hair
Buzz Cut With Dye Step #1. Choosing the Right Buzz Cut Hair Dye
- Permanent vs. Semi-Permanent: If you want a bold, long-lasting color, go for permanent dye. If you prefer something temporary, semi-permanent or temporary dyes are a good option.
- Bleaching for Lighter Shades: If you’re going for a vibrant or pastel color, you may need to bleach your hair first, especially if you have dark hair.
- Scalp Sensitivity: Since buzz cuts expose more of your scalp, choose a dye that’s gentle to avoid irritation.
Dye Buzz Cut/How to Color a Buzz Cut Step #2. Application Process
- Protect Your Skin: Apply petroleum jelly or a barrier cream around your hairline to prevent staining.
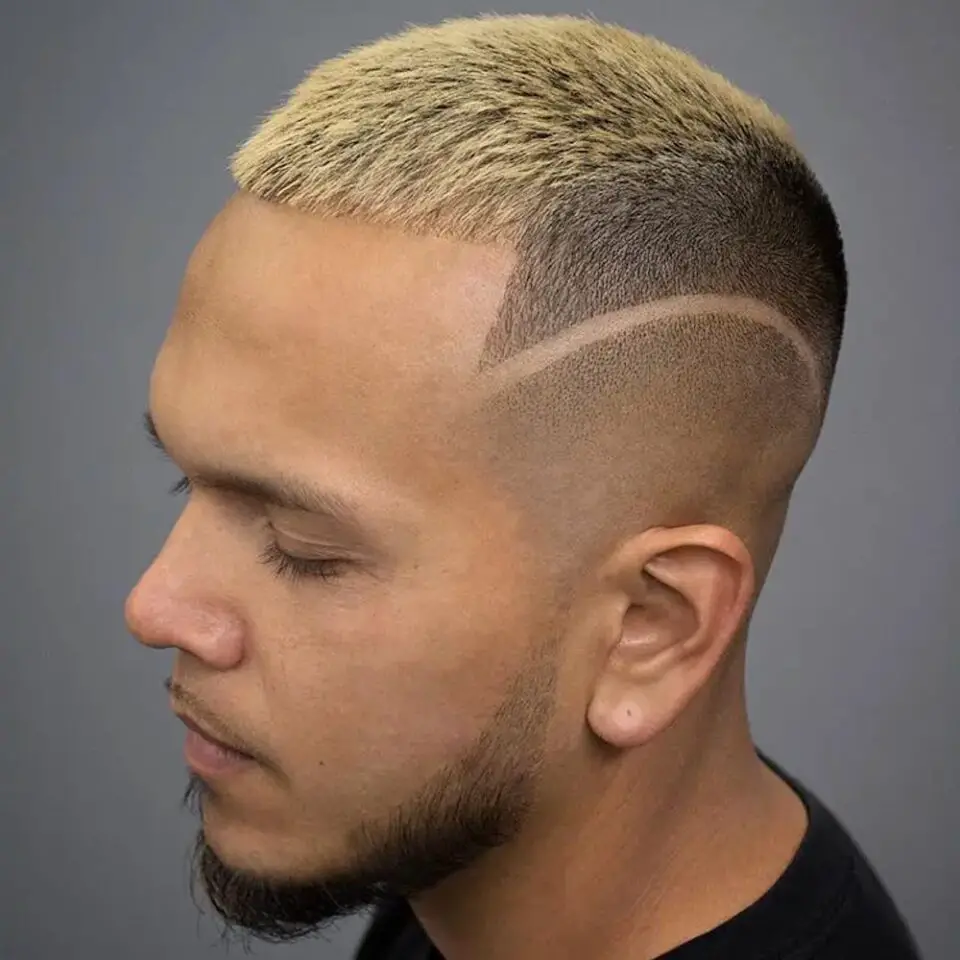
Photo credit: Buzzcut Guide, Pinterest