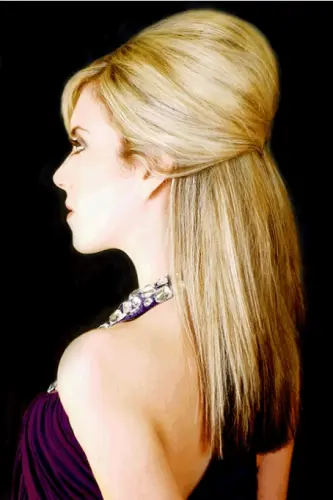
If you yearn to bumpit and give your hair a little extra lift, you’re probably looking for an easy way to create volume at the crown without spending ages teasing your hair.
A Bumpit can help you achieve that raised, fuller look by adding hidden support underneath your hair.
Bumpits became especially popular during the big-hair era of the 2000s, but the idea behind them is still useful today.
Whether you want a voluminous ponytail, a lifted half-up hairstyle, a bouffant-inspired look, or simply more height at the crown, a Bumpit can change the shape of your hairstyle in minutes.
In this post, I’ll take a closer look at what Bumpits are, how they work, and the different ways you can use one to create extra volume.
Table of Contents
What Is a Bumpit?
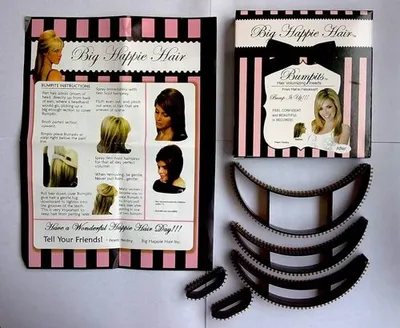
A Bumpit is a small, lightweight hair accessory designed to create volume or height at the crown of the head.
It is usually a curved plastic insert that sits underneath the hair, with teeth or grips that help hold it in place.
The idea is simple: instead of teasing or backcombing a large amount of hair to create a raised crown, you place the Bumpit underneath the top layer of hair and arrange the hair over it.
This produces the characteristic bumped-up, voluminous hairstyle.
What Does “Bumpit” Mean in Hair?
“Bumpit” can refer to either:
- the hair accessory itself
- the raised section of hair created using the accessory
- more generally, a hairstyle with noticeable volume at the crown
Bumpits became particularly associated with the big, lifted hairstyles popular in the 2000s, although the basic idea of using an insert to create height in the hair is much older.
A Bumpit can be used with several hairstyles, including:
- Half-up hairstyles
- Ponytails
- Updos
- Beehive-inspired styles
- Bouffants
- Long straight hairstyles with a lifted crown
- Retro-inspired hairstyles
Why Use a Bumpit?
The main purpose is instant height. If your hair tends to lie flat at the crown, a Bumpit gives you something underneath the hair to build that volume around.
It can also be useful when you want a dramatic crown without heavily teasing the hair.
That can make it easier to create a structured look while leaving the surrounding hair relatively smooth.
Create Hair Bumb: Bumpit vs. Teasing

A Bumpit and traditional teasing achieve a similar visual effect in different ways.
Teasing involves backcombing the hair itself to create a dense, slightly tangled base that supports the volume.
A Bumpit provides the physical structure underneath the hair, so the hair can be arranged over the accessory to create the raised shape.
High Ponytail Site:ChickAboutTown.com
If you would like to know what I have to say about high ponytails on this site, click here.
If you’ve ever admired the dramatic, lifted look of a bump it hairstyle but don’t have the official accessory, there’s good news.
With a few simple techniques, you can achieve the same voluminous effect on your own.
This guide will show you how to create a DIY bumpit for hair, giving your crown instant height and a polished, stylish finish without leaving your home.
Here Are Some DIY Ways to Get a Bumpit Hair Bump:
How to Put a Bump in Front of Hair Idea #1. Teasing or Backcombing Your Hair
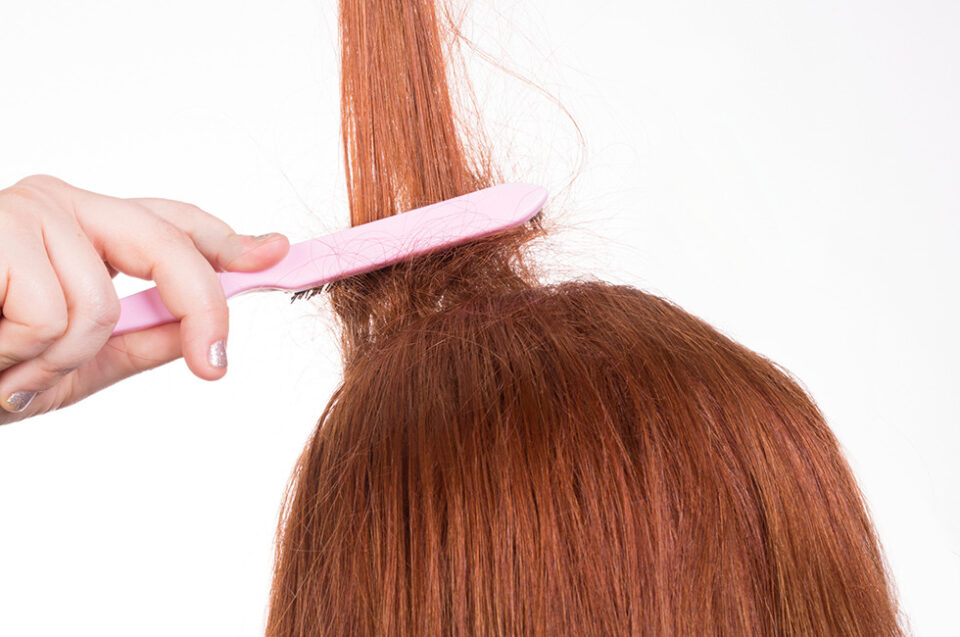
You don’t need any tools except a comb:
- Take a section of hair where you want volume (usually near the crown).
Photo Credits: Styles at Life.come, Made-in-China, Beautylish