If you’ve ever admired the dramatic, lifted look of a bump it hairstyle but don’t have the official accessory, there’s good news.
With a few simple techniques, you can achieve the same voluminous effect on your own.
This guide will show you how to create a DIY bumpit for hair, giving your crown instant height and a polished, stylish finish without leaving your home.
Table of Contents
Here Are Some DIY Ways to Get Bump Its Hair:
DIY Bumpit For Hair Idea #1. Teasing or Backcombing Your Hair
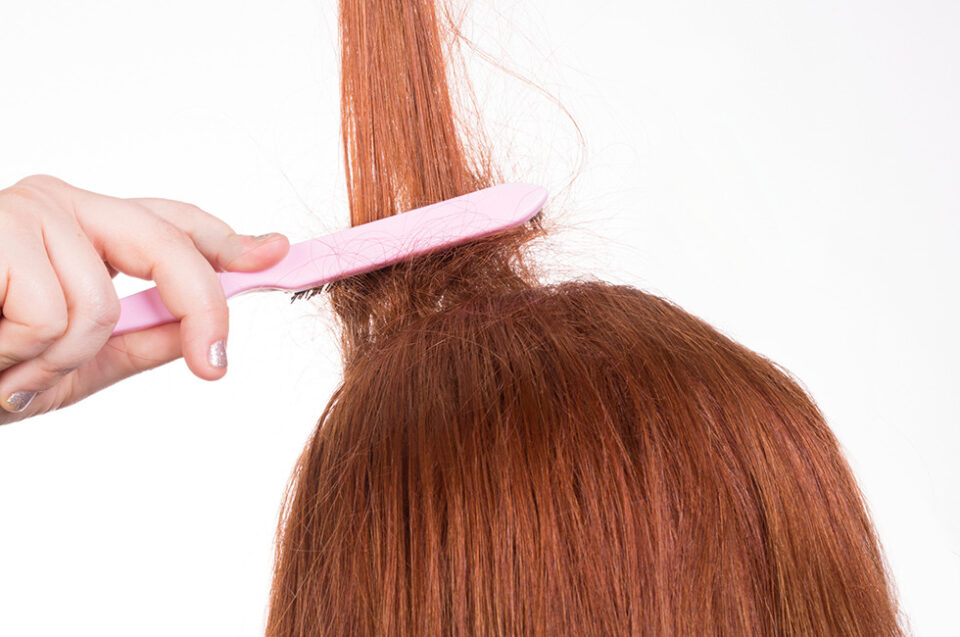
You don’t need any tools except a comb:
- Take a section of hair where you want volume (usually near the crown).
- Use a fine‑tooth comb to tease (backcomb) toward the scalp. This means pushing the comb down into the hair to create knots and height.
- Repeat on both sides of the section until you have enough lift. Then smooth a tiny bit of hair over the top to hide the teased section.
This method can give a puffed look similar to a classic bump without any insert.
DIY Bumpit for Hair Idea #2. Use Household Soft Foam or Sponge
If you want an actual lift under your hair without buying a store‑bought bump pad:
- Cut a piece of soft kitchen sponge or craft foam into a small oval or curved shape.
- Place it under a section of hair at your crown, similar to where a Bumpit would go.
- Smooth your other hair over it and pin or clip as needed.
Hairdressers and stylists sometimes call this a “hair rat” or hair pad method used for vintage bumps.
This creates a hidden structure under your hair to boost height.
3. Tight Ponytail Plus a Finger Bump Trick
You can fake volume without teasing or inserts by adjusting a ponytail:
- Pull your hair into a high or mid ponytail and secure it.
- After securing, gently push or lift the hair at the crown with your fingers to create a slight bump before spraying with hairspray. This gives dimensional lift even without teasing.
4. Use Texturizing Powder or Dry Shampoo for Grip
Spritzing dry shampoo or texturizing powder at the roots before creating your bump can help your hair hold its shape better.
Massage it in slightly, then tease or position your foam piece.
The added texture helps the style stay up longer.
5. Hide What You Use
Whether you are backcombing or adding a foam pad:
- After you have the desired lift, gently lay the top layer of hair over the teased section or foam piece so nothing looks obvious from the outside.
- Use a few bobby pins or clips to keep the hair smooth, and finish with a light mist of spray so it stays put.
Tips for Better Hold:
- Very smooth and sleek hair can slip off the bump. Adding a little texture before styling helps.
- If your hair is fine or thin, tease more under the bump area so your hair covers the bump better and grips onto itself.
These DIY methods mimic the classic Bumpit effect without needing a purchased tool, and they can work with short or long hair depending on how much lift you want. You can adjust how dramatic the bump is by how much backcombing you do or how large the foam you use is.
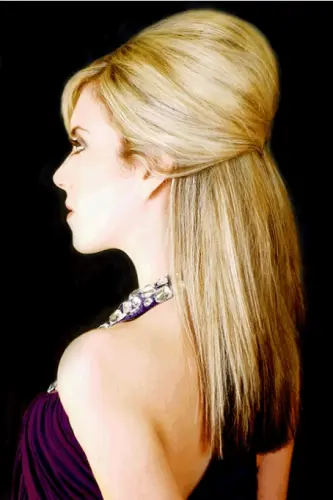
Bump It Hairstyle & What Is a Bumpit?

The Bump It hairstyle is a popular look known for its voluminous crown, created by teasing or padding the hair to add height. This style became widely recognized in the early 2000s and gained further prominence with the release of “Bumpits,” a plastic hair accessory designed to make the process of achieving the look easier.
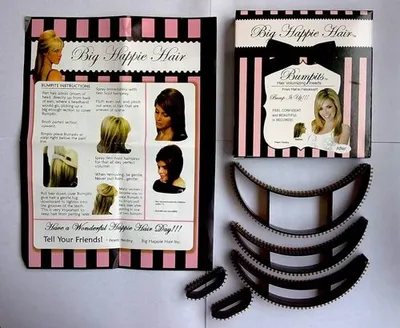
Photo Credits: Styles at Life.come, Made-in-China, Beautylish